New Feature for API: Extract Large Orthomosaic Tiles
Developers–this news is for you! Working with our Ortho imagery just got even easier as we’ve added a new service to our API set, enabling you to request a chunk of our orthomosaic in a single API call. The same imagery you can access via GetOrthoImageTiles is used to create the returned image. This new ExtractOrthoImages ability saves you the work of making multiple API calls to GetOrthoImageTiles for individual tiles, stitching them together into a large bitmap, and cropping it to your spec. With a single API call, you can get back a static map image matching your specification.
This new update now makes it easier for you to integrate our ortho imagery into websites, reports, AI workflows and any other application that can work with a standard JPEG or PNG image. And if you are working with our Digital Surface Model (DSM) data, you will find precise alignment between our Ortho imagery and the DSM data making it easy to build applications that involve both types of data.
Getting Started
To get started, the full documentation for this new API can be found here, but the remainder of this post will take you through the basics to get you going quickly. As with all of our APIs, a valid authentication token is passed in each call to ExtractOrthoImages, and you will need a valid Vexcel or GIC account to generate a token. If you do not yet have an account, email support@vexcelgroup.com to get setup before proceeding. Once you have your account you can call the Login() endpoint to retrieve a token. Alternatively, you can interactively sign in here to generate a token.
There are three ways to specify the image that you want returned.
Center Point (latitude and longitude), Zoom and image width/height
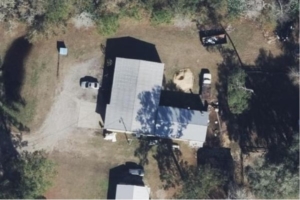
This is the most common use of the service. Here you pass in a coordinate where the image will be centered and a standard zoom level. You also pass in the width and height in pixels of the image you want returned. API TOKEN LINK.
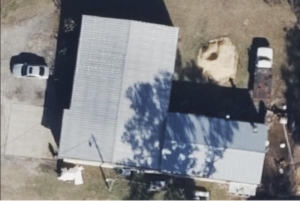
Here is the same API call, but with the zoom level specified one level deeper with zoom=21. the center point of the image remains the same, and the pixel size of the requested image is the same. API TOKEN LINK.
Note that this manner of calling ExtractOrthoImages is identical to static map APIs from other providers like Bing and Google and will conveniently return an image that aligns perfectly with those services.
Polygon with auto-zoom
Here you pass a polygon in the WKT parameter that you want covered by the returned image. The service will calculate the deepest zoom level that covers the polygon with less than the maximum number of tiles (135). The resulting bitmap will be fit TIGHT to encompass the polygon. This is often referred to as the minimum bounding rectangle, or MBR, for the polygon that was passed in the WKT parameter. Note that the pixel dimensions of the resulting image are also determined by the service and cannot be specified.
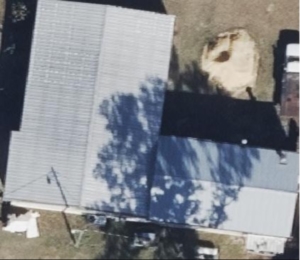
In this API call, we are passing a Polygon that represents this building’s footprint. The resulting bitmap is 422 pixels wide by 366 pixels high. API TOKEN LINK.
Polygon with zoom
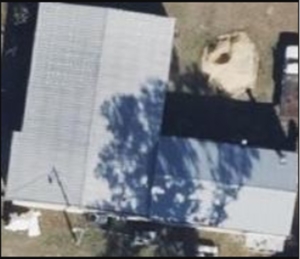
This is very similar to the previous case, but instead of the system selecting the optimal Zoom level, you specify it with the Zoom parameter. This allows you to scale the image as shown in these two examples.
First with Zoom=21 [API TOKEN LINK].
And now with Zoom=20 [API TOKEN LINK].
